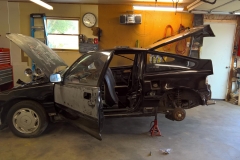
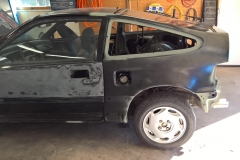
It was time to tackle the other side of the car. The passenger quarter panel installation went smoothly. The only major difference with the driver side panel was the fuel door indentation. The new factory quarter panel already had the fuel door area fabricated and it turned out to be an easy fit.
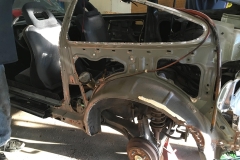
The same procedure as the passenger quarter panel was used. The car was jacked up, a wire brush was used to expose the spot welds, and then the spot welds were drilled out with a 10mm bit. We used a glass urethane cutter to remove the rear glass and access the spot welds around the inner section of the panel. After drilling out 80+ spot welds, the edges connecting the panel to the forward section of the car were cut. The panel was removed and all of the remaining evil Honda sealer was wire brushed off.
It look longer to correctly fit the new panel versus the passenger side. The fuel door area proved to be somewhat awkward and for whatever reason it took a little more time to fit the rear area of the panel around the inner panels. Once the panel was fit into place, the edges were cut to form a clean point to weld onto the forward section. Each drilled out spot weld was welded back with the MIG welder.
Bondo and Icing were applied to where the new panel and the rest of the car meet.
Overall, the panel went on smoothly. It took about 10 hours this past weekend to install from start to finish. The next step is to apply primer.


